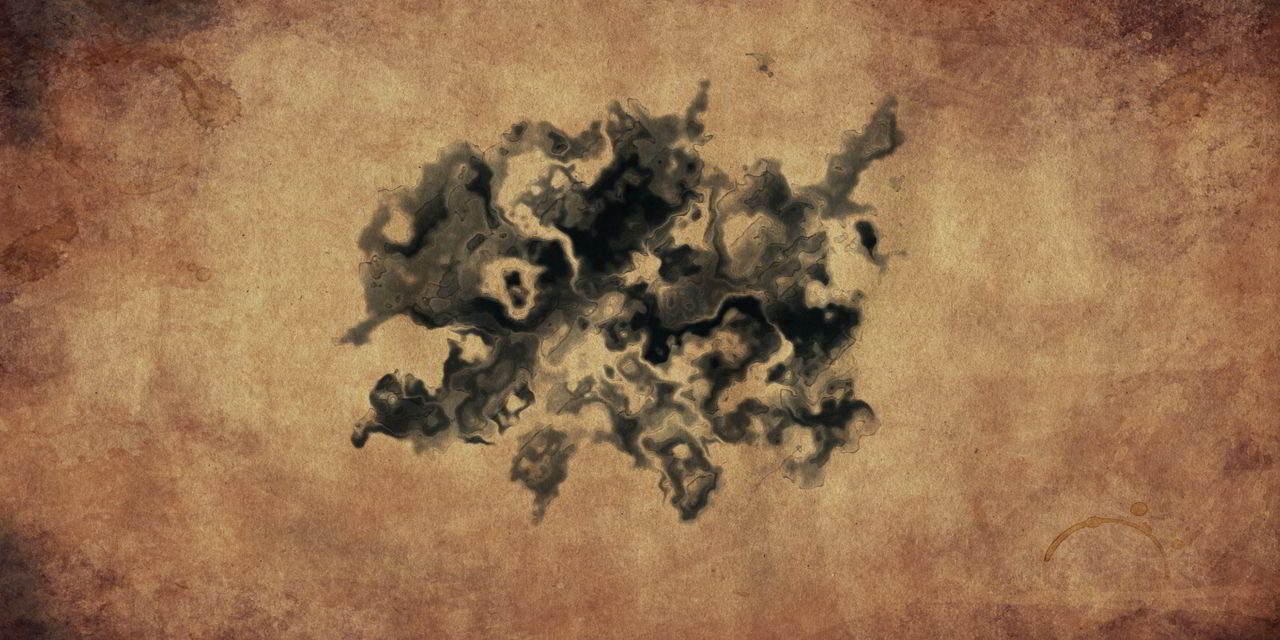
It is possible simulating watercolor spread in Blender? YES
Inspired of the technique of John Dickinson in AE: http://motionworks.net/after-effects-experiment-11/
The basic idea is generate particles with semi transparent gradient and deform in compositor using Displace Node:
You can download finished blend file here: [wpdm_package id=’22885′] with old paper high resolution texture included
Some explication:
Make a Circle
create a simple Circle (shift+A -> mesh -> Circle) go in edit mode (TAB) select all vertex if not already selected (A) and add a face (F)
add material:
we use Emission Shader to render very fast, with a Color Ramp Node driven by a Gradient texture (spherical is good choice): we use color and alpha in Color ramp.
we plug alpha into a Fac of mix note with TTransparent Shader:
Then we mix again with Transparent Shader in this case the Fac is driven by the particle age.
We divide Age by the Lifetime: at the birth of a particle the value is almost 0.0 at the end of their life is 1. We plug the output to a RGB Curves Node with a reverse U shape in this way at the beginning the particle is transparent and fast get visible and at the end go again transparent:
you can tweak the colors changing the Color Ramp Node, in the example the colors is all black and we play with alpha
but you can experiment for creative effect:
The material node is like this, nothing complicated:
Generate particles
Make a plane, subdivide once, lift slightly the middle point, apply a Subdivision Surface Modifier Catmull-Clark 2 subdivision. In this way you have a slightly bumped surface to emit particles that diverge.
Add a Particles System, set in Field Weights Gravity to 0.000, other setting as follow:
In Render Object the object is the Disc(circle) you create before, remember to uncheck Emitter in Render settings
Place the camera
Place you camera on top at center of the plane looking your plane, i suggest to use long focal lens (around 300mm) and place the camera far away to reduce perspective divergence.
at that point if you play your animation you must see something like this:
Rendering Settings
Let set some settings in Render Panel: Sampling, Light Paths and in Film:
Yes you can set render samples at 1 because we use only emitter and transparency like this the render is really fast.
But we must set Transparency to high value because our particles overlap and the risk to clip transparency is high.
Remember to check Transparent in Film Panel
Compositing
the fun part.
The basic idea is to use Displace Node to deform the image using a cloud Texture in Texture Node.
The important things are:
- the scale value of Displace Node must be high: between 300 and 600 depends on the effect you seek
- We must subtract0.5 to the output value of the texture to ‘recenter’ the vector in this way the value go to -0.5 to +0.5 and not from 0.0 to 1.0 (optionally we can multiply by 2 this value to have the range between -1.0 and +1.0 but this is same as changing scale value in Displace Node)
Optionally you can apply same deformation to alpha channel (like in example .blend file) and add a background image and other basic composting tweak.
Final Result:
We hope you can find creative inspiration on this fast tutorials, feel free to post your test as comment.
Happy Blending!!!!


